Client Portal Instructions
How to Use Fair Capital's Client Portal - Quick Guide
As an extension of Fair Capital's website, the Client Portal allows you to submit accounts to our debt collection agency and share documents quickly and securely. The online portal also allows clients to view their accounts and run various reports at any time.
Unlike email and email attachments, records uploaded via the Client Portal are protected by encryption technology, ensuring that information is secure during transmission.

Enter Accounts Individually
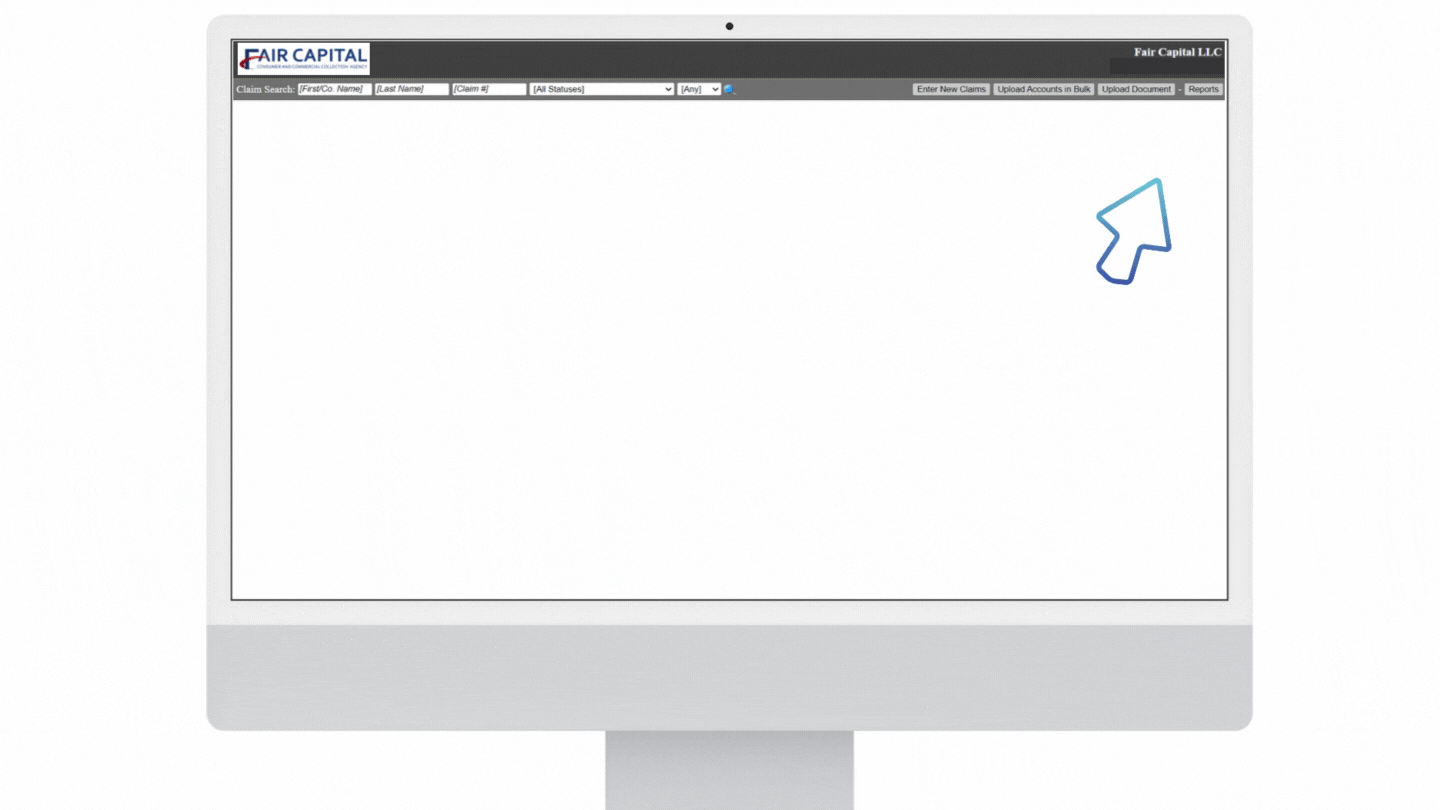
Click Client login from the Fair Capital home page, then enter your username and password.
Select Enter New Claims from the menu bar, then enter all your debtor and account info.
Provide as much information as possible about your debtor and the debt.
Files can be attached to the account by uploading a file under the Upload File(s) heading. Click Insert Claim.

To add accounts in bulk, export your data into one of our pre-prepared Excel spreadsheets.
Please choose one of the options below:
Standard template for consumer accounts.
Consumer Advanced Excel Template
The form is to be used if you wish to adjust the outstanding balance to include interest, fees, credits, or any other adjustments.
Commercial Basic Excel Template
Standard template for commercial accounts.
.jpg)


After exporting your data into an Excel template, sign in to the online portal.
In the menu bar, click the Upload Accounts in Bulk button.
Drag and drop the file you want to upload or click Select File to find the file on your computer.
Make sure to click Upload to get the file transferred to Fair Capital.
In addition to uploading your files via the online portal, you may also send them by email to info@thefaircapital.com.
Please allow approximately 24 to 48 hours for your file to be processed.


Enter the relevant keywords in the home bar to view an account in collections and click the magnifier button. Alternatively, you can view all your accounts in collections by clicking the magnifier without entering any information.
A list of accounts matching your search term will be displayed. Detailed information will be displayed when you click on an account in the list.
The data can be downloaded in Excel, PDF, or Word formats by clicking on the floppy disk icon.


Documents can be added to any account in collections by following the steps below.
-
Select the account you wish to upload documents to.
-
Click Choose File.
-
Select your file.
-
Add an optional file note.
-
Click Upload Files.

You can run many different reports depending on your needs.
-
In the upper right corner, click Reports and a drop-down menu will appear.
-
Choose the report that best suits your needs.
-
Select an option to export or save the report if you wish